 Larkspur Edit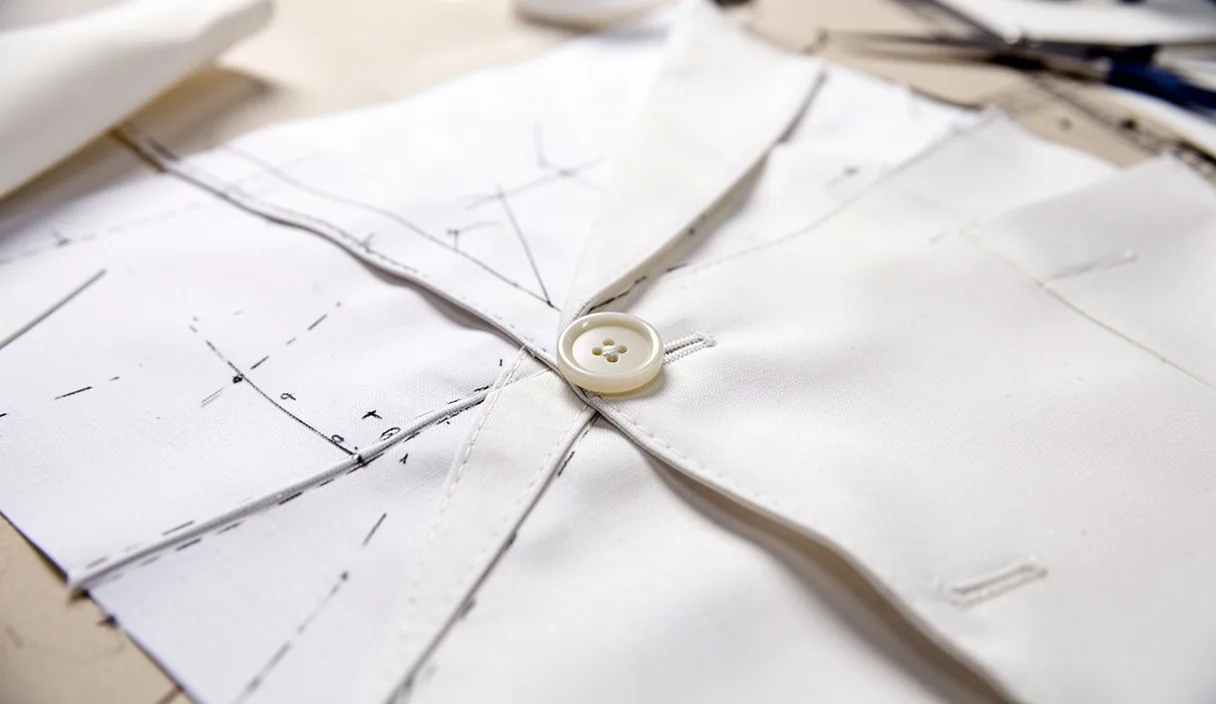

We've all done it: fallen in love with a shirt on the rack, bought it without a second look, then watched a seam pop open after the second wash. A few minutes of checking before you buy can save you from that disappointment. It doesn't take special training, just a few habits you can build into any shopping trip, whether you're at a department store or sorting through a secondhand rack.
This checklist walks through the parts of a garment that tell you the most about how it's made and how long it will hold up. We'll cover seams, fasteners, fabric, and lining, then give you a short list you can actually use while standing in a fitting room with five minutes to spare.
Why Quality Checks Save You Money Later
A $40 shirt that lasts three years costs less per wear than a $15 shirt that falls apart after six washes. That's the whole argument for spending a little time checking construction before you pay. Quality checks aren't about buying only expensive brands, they're about spotting which specific items, at any price point, were made with enough care to survive regular wear.
We've found that garments with weak construction tend to fail in predictable spots: underarm seams, button edges, and zipper tape. If you catch a loose thread or a thin seam allowance in the store, you can decide whether that's a dealbreaker or something you can live with. Once you've worn the item a few times, you've lost the chance to return it for a construction flaw, since wear and tear is harder to prove.
There's also a repair-cost angle. A missing button takes two minutes to sew back on, but a split seam on a lined jacket might need a tailor and run you $15 to $30. Checking ahead of time doesn't just save you money on replacements, it helps you guess the hidden repair costs you might be taking on.
Reading Seams and Stitching
Turn the garment inside out and look at the seams where they'll take the most stress: underarms, crotch seams on pants, and shoulder seams on jackets. Count the stitches per inch if you can. A denser stitch, around 8 to 12 per inch, generally holds better than a loose stitch of 4 to 6 per inch, which can unravel with normal movement.
Check for a serged or overlocked edge on the raw fabric inside the seam. This is the zigzag-looking stitching that wraps the fabric edge to stop fraying. Garments without any finish on the seam edge, just a straight cut, will fray faster, especially in fabrics like cotton twill or linen.
Pull gently on the seam, not hard enough to damage it, just enough to see if the stitching puckers or gaps open up between the thread and fabric. If you see small holes along the seam line where the fabric looks stressed, that's often a sign the tension on the sewing machine was set too tight, which can lead to tears later.
- Look for backstitching or reinforcement at stress points like pocket corners and the base of zippers.
- Check if patterns or stripes line up where seams meet, a small sign of careful cutting and sewing.
- Flip the hem and check if it's stitched flat or just folded and glued, which some fast-fashion pieces use as a shortcut.
Checking Buttons, Zippers and Fasteners
Buttons should feel snug, not wobbly. Give each one a gentle tug and a twist. If it moves more than a little, the thread holding it is probably thin or wasn't knotted well underneath. Also check whether there's a small reinforcement button or fabric patch on the inside, directly behind the front button, which some better-made shirts and coats use to keep the fabric from tearing around the buttonhole.
For buttonholes, run your finger along the edge. It should feel finished, not frayed, and the stitching around the hole should look even, without loose threads hanging out. A buttonhole that's slightly too small or too large for its button is a sign of rushed quality control.
Zippers deserve a full test, not just a glance. Zip it up and down three or four times, checking for snags, especially near the top and bottom stops. Metal zippers, usually YKK or RiRi on better garments, tend to outlast plastic coil zippers, though plastic coil can work fine on casual wear. Check where the zipper tape is sewn into the garment, since a poorly stitched zipper tape will pucker the fabric around it.
| Fastener Type | Good Sign | Warning Sign |
|---|---|---|
| Buttons | Tight, double-stitched, with a backing button on nicer pieces | Loose, single thread strand visible, off-center placement |
| Zippers | Smooth glide, metal pull, flat tape with no puckering | Catches fabric, plastic teeth already misaligned, wavy tape |
| Snaps/Hooks | Firm click, aligned with the matching side | Loose fit, visible gaps when fastened |
Testing Fabric Weight and Weave
Rub the fabric between your fingers. Thin, see-through fabric held up to a window or store light will often show the weave gaps, which means less durability and more pilling over time. A denser weave, where you can't easily see light through it, usually holds its shape through more washes.
Scrunch a section of the fabric in your fist for about five seconds, then let go. Fabric that bounces back close to its original shape has decent recovery, often thanks to a bit of elastane or a tighter weave. Fabric that stays deeply wrinkled is more likely to need ironing after every wear, which matters if you're buying something for regular use rather than occasional wear.
Check the fabric content tag, since the blend tells you a lot. A cotton-polyester blend around 60/40 often resists wrinkles better than 100% cotton, but pure cotton usually breathes better. Wool blends with a bit of nylon, something like 90% wool and 10% nylon, tend to resist abrasion at the elbows and cuffs better than pure wool.
Look at the fabric surface under good light for any slubs, snags, or uneven dye spots. A small amount of texture variation is normal in natural fibers like linen, but obvious dye streaks or thin patches usually point to lower-grade fabric batches.
What Lining Tells You About a Garment
Lining does more than add comfort, it protects the outer fabric from your skin's oils and sweat, and it helps a garment hold its shape. On jackets, blazers, and coats, check whether the lining is sewn in smoothly or if it bunches and pulls when you move your arms. A lining that's too tight will strain and tear at the shoulder seams within a year or two of regular wear.
Feel the lining fabric itself. A silky polyester or rayon lining usually glides over other clothing easily, which matters for jackets you'll wear over sweaters. Cheaper linings can feel stiff or slightly sticky, and they tend to tear along the seam edges faster, especially around the armholes.
Check if the lining is fully attached or only partially, sometimes called "quarter lined" or "half lined." Fully lined garments, common in structured blazers, usually cost more but also last longer since the lining distributes stress across the whole garment rather than just the shoulders and chest.
For pants and skirts, check if there's lining at the hip and thigh area, where friction is highest. Unlined wool pants, for instance, tend to develop a shine or thin patches faster at the inner thigh than lined versions.
A Short Checklist You Can Use While Shopping
Here's a condensed version you can run through in under five minutes per item, whether you're in a store or checking an online return before it goes back in your closet.
- Turn the garment inside out and check seam stitching density and finish.
- Tug gently on buttons and run a finger along buttonholes.
- Zip and unzip any zippers three or four times, checking for snags.
- Hold fabric up to light to check weave density, then scrunch it to test recovery.
- Check the lining for smooth attachment and full versus partial coverage.
- Read the fabric content tag and compare it against how the fabric feels.
Common Mistakes
One common mistake is checking only the outside of a garment and skipping the inside seams entirely, since that's where most construction flaws show up first. Another is assuming a higher price automatically means better construction. Price often reflects brand name, materials sourcing, or retail markup, not always stitching quality, so the checklist still applies even on expensive items.
Shoppers also tend to skip testing zippers more than once, assuming the first smooth zip means it's fine. Zippers can catch on the second or third try if the teeth are slightly misaligned, so it's worth the extra few seconds. Finally, people often ignore the fabric content tag, buying based on how something looks on a hanger rather than how the blend will actually wear and wash.
Next Steps
Start by picking one item in your closet that wore out faster than expected, and check it against this list, you'll likely spot the exact weak point that failed first. Next time you shop, bring this habit with you, even if you only run through two or three of the checks rather than all six. Over a few shopping trips, you'll start noticing patterns in which brands or fabric blends hold up for you personally, since everyone's wear and wash habits differ slightly. If you're investing in a higher-cost item like a coat or suit, it's worth asking a tailor to look it over before you buy, since they can spot construction issues that take years of experience to notice at a glance.